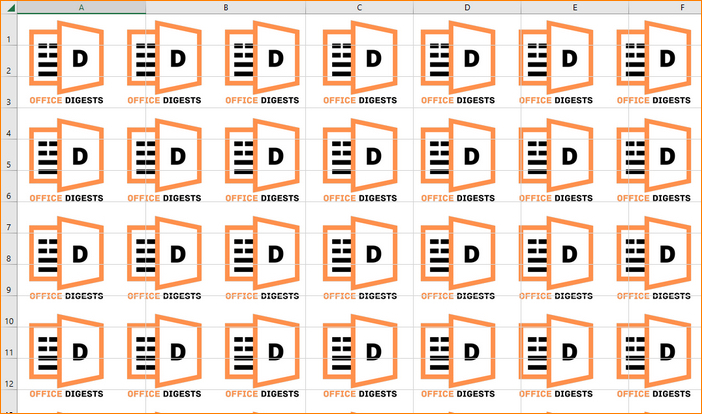
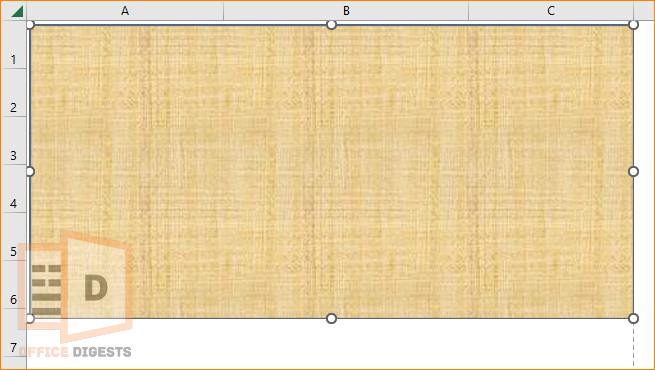
Excel sheets can be pretty dull sometimes. Therefore, adding a background can be a great way of making them more fun to look at. And you can also convey a more powerful message through your excel sheets using a background image.
But what are the methods of setting an Image Background in Excel cell?
Let’s find out.
Methods for Adding Image Background Excel
A few versions of Microsoft Excel have come out through the years. And although they maintain similarities with each other, there are many differences too. That also applies when adding Image Background Excel.
Follow the discussion below to know more about background images in excel worksheets. After this, you shall never again need to worry about watermarking your excel documents.
So, here are some ways to watermark your excel sheets in all the versions of Excel:
Use The Page Layout Tab To Add Image Background Excel
The page layout tab is an effective way to set a background image for your documents. Plus, you can use this method with four versions of Microsoft excel. These are Excel 2019, 2013, 2010, and 2007.
The steps are as follows-
Step1. Create a new Microsoft Document or open the document you are looking to add an image background.
Step2. Find the Page Layout option in the uppermost ribbon of the document. This is the line with Files, Home, Insert. And the fourth one after that is the Page Layout. Click on it. It will now open the Page Setup section. And this is where you can set the various specifications regarding this Excel page.
Step3. In the setup section, between Breaks and Print Out Titles, you will find the Background option. Click on it.
Step4. A dialogue box shall open on the screen. This is the Sheet Background dialogue box. It is similar to image upload boxes on Facebook or Gmail. You will be shown the different image files you have on your computer. Select your desired background image. Then click Insert at the bottom of the page.
If you have done everything correctly, then the image you selected shall appear as the Background for your excel sheet. If you cannot use this method for some reason, move on to the next one.
Use Keyboard Shortcuts To Set Image Background Excel
Some people might have difficulty finding all the options and clicking through them correctly. For them, there is an easier way to set Background Images in Excel. That is, using the keyboard shortcuts. Follow the steps as described below-
Step1. Open Microsoft Excel by double-clicking on the icon. Now create a new document or open the document where you want to add an image in the Background.
Step2. For the shortcut, press three keyboard keys together- Alt, P, G, or Alt+P+G. This will instantly open the Sheet background dialogue. So, unlike the former method, you don’t have to spend time sorting out which options to click to get here.
Step3. Select the image you want as your Background. Then click Insert at the bottom right of the dialogue box.
If you followed the instructions correctly, you would see your selected image as your document’s Background.
Getting rid of Gridlines
Sometimes you might want to get rid of the gridlines to make your sheet look more attractive. This will also present your image background in full glory. Let’s see how you can get rid of them.
Step1. Click on the Page Layout option from the uppermost ribbon. Usually, this is the fourth option from the left.
Step2. You will now see all the Sheet Options. Here, you will notice an option named Grid on the far right. Under that, there is a small box labeled View. If your grid lines are visible, then this box has a tick mark in it. Click to make the tick mark disappear.
Adding a Printable Background Image In Excel
You can use the above methods to add image background excel. And this will work fine in a PowerPoint presentation. However, these backgrounds will disappear when you print the sheets on paper.
So, how can you add a printable image background?
Let’s find out. For a head’s up, this process is lengthier but not difficult.
Step1. Open a Microsoft Excel and open an existing document or create a new one.
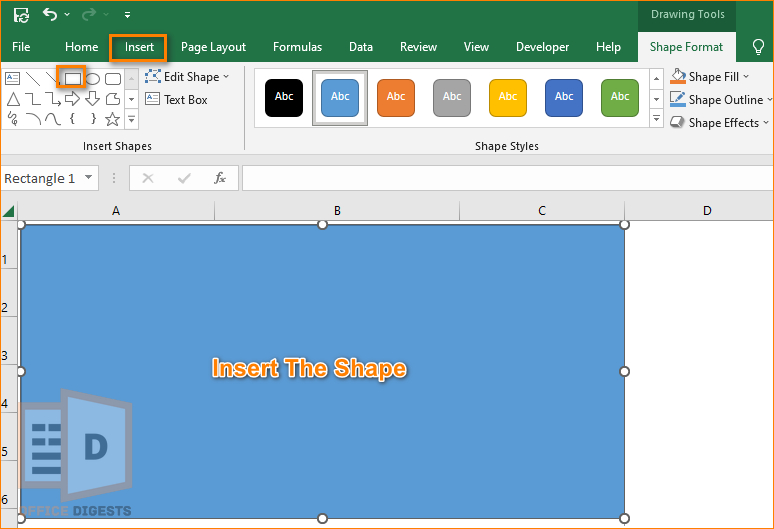
Step2. In the uppermost ribbon or Home tab, find Insert– the third tab from the left. This will give you access to the illustration options for your page. From there, select the Shapes option.
Step3. Under the Shapes option, another box will open showing the different shapes. Click on the Rectangle. Now draw this shape on your spreadsheet. Make it as big as you want your background image to be.
Step4. As you commence drawing, the Drawing Tools become active and at the upper part of the sheet. Find the Shape fill option there and click on it. Now select the White color to fill the rectangle you drew on the sheet.
Step5. You might also want a nice color to frame your background image. So, click on the Shape Outline option. A color picker shall appear, and you can select the color you want the outline to be.
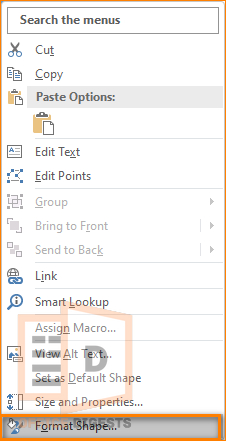
Step6. Right-click on your drawing. A box with a list of options shall appear. Find Format Shape. This is usually at the bottom of the list. Click on it. And you will see a dialogue box for formatting the picture.
Here you will do the following things-
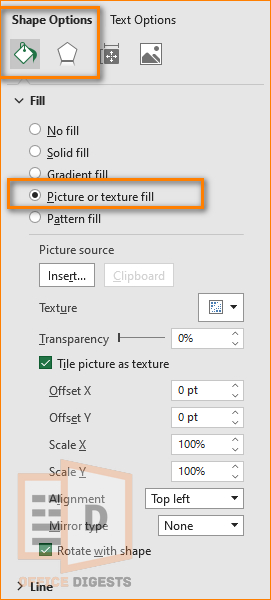
- Choose the Fill option. You will see that there are many ways you can fill the shape. But you want to do it with an Image. So, select the Picture or texture fill button.
- You will then notice the Insert From option gives you three choices- File, Clipboard, and Clip Art. Select ‘File‘. You will then be able to browse the picture files on your computer. So select the image you want to set as your background image.
- There is a checkbox below saying Tile Picture as texture. Click on it. You can also set the transparency level for your picture.
- Click Close when you are done. You will find the button at the bottom of the dialogue box.
If you have followed all the steps described, you will hopefully see your desired Image Background Excel, which is easily printable.
Final Words
Excel sheets present essential data to its viewer. But they are pretty mundane. Therefore, often they might not be able to attract or hold the viewer’s attention properly. Setting an Image Background Excel is the easiest and quickest way to accomplish the job.
